If you are in a song part and move your widgets (knobs, sliders, etc.) changing their values, and then switch away from that song part - all the changes in that song part will be lost and reset to the values of the underlying variation. For example, look at the screenshots below:
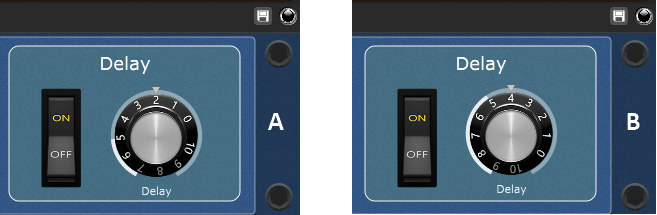
Let's assume that A shows widget values when you first select a song part. If you want to increase a delay a bit more (B), and select another view (i.e. Panels view) the delay value will be reset to A.
However, Gig Performer provides you with a mechanism to capture these changes and save them to the currently active song part. So, if you want to retain the amount of delay as shown in B, click on the Capture variation icon (indicated with the red arrow - refer to the Setlists view chapter for more information):
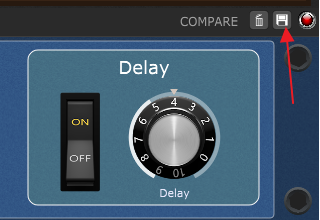
Clicking on this button allows you save edits you have made to a variation into the currently selected song part only. The changes are not saved to the underlying variation in the rackspace itself.
Notice that additional buttons are available. When the LED is red, it indicates that the song part has saved values different from the underlying variation. Click and hold the COMPARE momentary button to display the original widgets values in the corresponding variation; release to see captured changes in the song part (click and hold will display widget positions as shown in A, and widget positions indicated with B will be displayed when you release the mouse).
Click on the Revert to original variation button (indicated with the trash can icon) to remove captured changes and match the variation values.
If you like how your song part sounds with the increased delay (as shown in B), you can apply this change to the underlying variation so that all song parts associated with that variation have this amount of delay. From the Setlist contextual menu choose the Push Song Part Changes to Rackspace menu item. Notice that the LED indicator is no longer red and the Compare and Revert buttons disappear. Switching to the Panels view shows that widget's value (i.e. the amount of delay) has been updated and now has the value as indicated with B. All song parts that are attached to this variation will have this higher amount of delay (except for those that have their own captured changes).
Note: If you edit values on the fly and like the changes, this is how you update the original variation with the changes. If you want to keep the original variation as well, make a duplicate of it before pushing song part changes.